
Keep your Canon lenses spotless with this all-in-one kit — includes brush pen, air blower, and microfiber cloths.
👉 Check it out on Amazon
Introduction
In the artful intersection of culinary arts and visual storytelling lies the vibrant genre of food photography. It's a craft that transcends mere appetite appeal, engaging senses and emotions through a lens. From the glistening swirl of a hearty soup to the rustic charm of a bowl of mixed nuts, food photography is about capturing the essence and allure of food in a way that stirs both imagination and hunger. It's a key ingredient in the recipe for success across numerous platforms—be it the heart of a food blog that invites readers to try new recipes, the centerpiece of an advertisement that must sell not just a product but a taste, the visual allure of a menu that seduces patrons before a single scent wafts from the kitchen, or the glossy pages of a cookbook that promises culinary adventure. This article aims to delve into the full spectrum of food photography: the preparation, the shoot, and the all-important post-production. We'll simmer down the complexities into a digestible guide, serving up industry insights that transform a simple snapshot into a mouthwatering masterpiece. From 'soup', the very preparation of our edible subjects, to 'nuts', the final garnish that completes the visual feast, we embark on a photographic journey that promises to be as informative as it is appetizing.
Understanding Food Photography
Food photography, at its core, is the art of photographing food in an attractive manner, poised to entice and engage the viewer's senses. The objective is twofold: to portray the food in its best light, making it look as delicious and inviting as possible, and to convey a specific mood or style that resonates with the brand or story behind the dish. This genre is not just about technical precision but also about evoking the emotional and sensory responses akin to those one would have when savoring the dish in reality. It's about the steam rising from a hot soup or the texture of a crunchy nut, captured in a way that one can almost taste, smell, and feel them.
The emotional appeal in food photography can be powerful and direct. A well-composed food image can evoke nostalgia, arouse hunger, or inspire awe through the intricate details of culinary presentation. The sensory appeal is just as important, with visual cues hinting at textures and flavors that can trigger salivation and desire. The image's composition, color, and context work together to mimic the sensory experience of eating, often making food photography a vicarious feast.
The history of food photography is as rich as it is diverse. Early examples date back to the late 19th and early 20th centuries, with basic shots of agricultural produce and canned goods. However, it wasn't until the mid-20th century, alongside the rise of advertising and editorial photography, that food photography began to flourish as an industry. The evolution has been marked by a shift from merely documenting dishes to creating stunning, almost theatrical presentations. The digital age has further revolutionized this field, introducing a plethora of tools and platforms that allow food photographers to share and monetize their work globally. Social media, in particular, has democratized food photography, allowing both professionals and amateurs to contribute to the ever-expanding visual lexicon of this delicious art form. Through its evolution, food photography has remained a testament to the timelessness of culinary appreciation and the continuous pursuit of visual and gastronomic excellence.
Essential Equipment for Food Photography
Navigating the toolkit of food photography is essential for capturing the perfect dish. The camera is the chef's knife of the food photographer, and the choices vary widely. For professionals, full-frame DSLR or mirrorless cameras are the preferred choices, offering high resolution, robust control over settings, and compatibility with a range of lenses. Popular models include the Canon EOS 5D Mark IV or the Sony A7 series. Amateurs might lean towards crop-sensor DSLRs or even advanced compact cameras like the Fujifilm X series, which still offer manual controls and excellent image quality without the heftier price tag.
When it comes to lenses, the selection is as crucial as the recipe itself. A macro lens, such as a 100mm f/2.8, is perfect for close-ups and capturing intricate details of textures and ingredients. A standard 50mm lens, often referred to as a "nifty fifty," is versatile for most food scenarios, delivering images that closely resemble what the human eye sees in terms of perspective. For a broader scene or for shooting in tight spaces, a wide-angle lens might be the right ingredient.
Stability and light are the twin pillars of clarity in food photography. A sturdy tripod is non-negotiable for sharp images, particularly in low-light conditions or when employing long exposures to capture that silky pour or bubbling broth. Reflectors are the unsung heroes, bouncing light to mitigate harsh shadows and highlight the dish's best angles. Diffusers soften direct light, emulating that soft, natural glow that makes food look its most delectable.
No dish is complete without garnish, and in food photography, props and backgrounds are the garnishes that enhance the main subject. Textured cloths, rustic wood boards, sleek tiles, or simple, solid-colored backgrounds can dramatically alter the mood and context of a food image, from homely and rustic to sleek and modern. The proper use of props, like vintage cutlery or artisanal tableware, adds authenticity and depth, inviting the viewer not just to see a meal, but to sit down and enjoy it.
Setting the Stage: Preparing Your Food Subjects
Before the camera shutter clicks, the culinary canvas must be set — this is where the meticulous process of preparing your food subjects comes into play. The selection of ingredients for visual appeal is paramount; fresh, vibrant, and unblemished items are the stars here. The perfect tomato is not just ripe but boasts a rich, red hue; herbs are chosen for their lush green and lively shape; and proteins are cooked to the exact point where they look their most succulent and appealing.
Food styling is an art that requires both creativity and technical know-how. Simple tricks can make a dish go from ordinary to extraordinary. A spritz of oil can give vegetables a tempting sheen, while a brush of syrup can make fruit glisten enticingly. Conversely, undercooking vegetables slightly ensures they retain their structure and color when photographed. It's all about creating the illusion of the perfect meal, even if that means using unconventional methods like propping up ingredients with toothpicks or using mashed potatoes as a stand-in for ice cream to prevent melting under hot lights.
Color, texture, and composition play critical roles in the visual storytelling of food photography. A thoughtful palette can convey a season, evoke a mood, or enhance a dish's appeal. Contrasting colors can make elements pop, while complementary colors can soothe and please the eye. Textures add depth and interest, inviting the viewer to imagine the crunch of a crust or the smoothness of a sauce. The composition must guide the eye through the image, using the dish as the focal point around which props and negative space are orchestrated to create balance and harmony.
When preparing 'hero' dishes — the idealized versions of the menu items — there is a shift from culinary skills to those of an artist and craftsman. These are the dishes that are not meant to be eaten but are engineered for the camera. They are constructed with the utmost attention to detail, often using non-edible products to enhance their appearance. The real dishes, however, are those prepared with the intention to be consumed, and although they must still be appealing, there is a greater emphasis on authenticity. These dishes are styled with the understanding that they represent a real eating experience, and therefore, they retain their genuine textures and consistencies.
In the realm of food photography, setting the stage is as critical as the photograph itself. It requires a balance of authentic culinary craftsmanship and the creative manipulation of the scene to produce an image that not only captures the eye but tantalizes the taste buds and beckons the viewer to a gastronomic experience they can almost taste.
Lighting Techniques in Food Photography
Lighting is the essence of food photography, the secret sauce that can make a dish come alive in a photograph. Mastering this element is crucial, as it shapes how the textures, colors, and contours of food are perceived.
Natural lighting is often the darling of food photographers for its ability to cast a soft, diffused light that beautifully mimics the conditions under which most food is enjoyed. It's accessible and flattering, providing a warmth and authenticity difficult to replicate artificially. The best practice when using natural light is to position the food near a large window, where indirect sunlight can illuminate the dish. Using reflectors can bounce the light back onto the subject, filling in shadows for a more balanced exposure.
Artificial lighting, on the other hand, offers control. It allows the photographer to manipulate light regardless of the time of day or weather conditions. The key here is to mimic natural light as closely as possible, which is often achieved with softboxes or umbrellas. These tools diffuse the harshness of artificial bulbs, softening shadows and highlights. When using artificial lighting, one best practice is to start with a single light source, creating a directional light that can be adjusted and softened to taste before adding more lights for complexity.
Manipulating light is about more than just illumination; it's about setting a mood and creating an effect. A backlight can create a halo effect around steam or translucent slices of citrus, emphasizing freshness and vitality. Side lighting can accentuate the texture of foods, from the grain of a crusty bread to the gloss on a chocolate glaze. Even the color of the light can be adjusted; warmer tones can make a dish feel cozy and inviting, while cooler tones can make it seem fresh and light.
Whether harnessing the soft luminance of a cloudy day or sculpting the scene with artificial setups, lighting in food photography is a dynamic and powerful tool. It's not just about seeing the food; it's about feeling it, and the right lighting can evoke the sizzle of a steak just as much as the aroma of freshly baked bread.
Composition and Styling
The visual feast of food photography is not just about what’s on the plate but also how it’s presented within the frame. Composition and styling are the silent narrators of a food story, guiding the viewer’s eye and evoking a sensory response. The rule of thirds is a compositional mainstay, where the frame is divided into nine equal segments by two equally spaced horizontal and vertical lines. Placing the food at the intersections of these lines can create a balanced, dynamic image. Leading lines, another compositional technique, can draw the eye into the photo, whether it’s the edge of a spoon, the stem of a wine glass, or the lines of a fork.
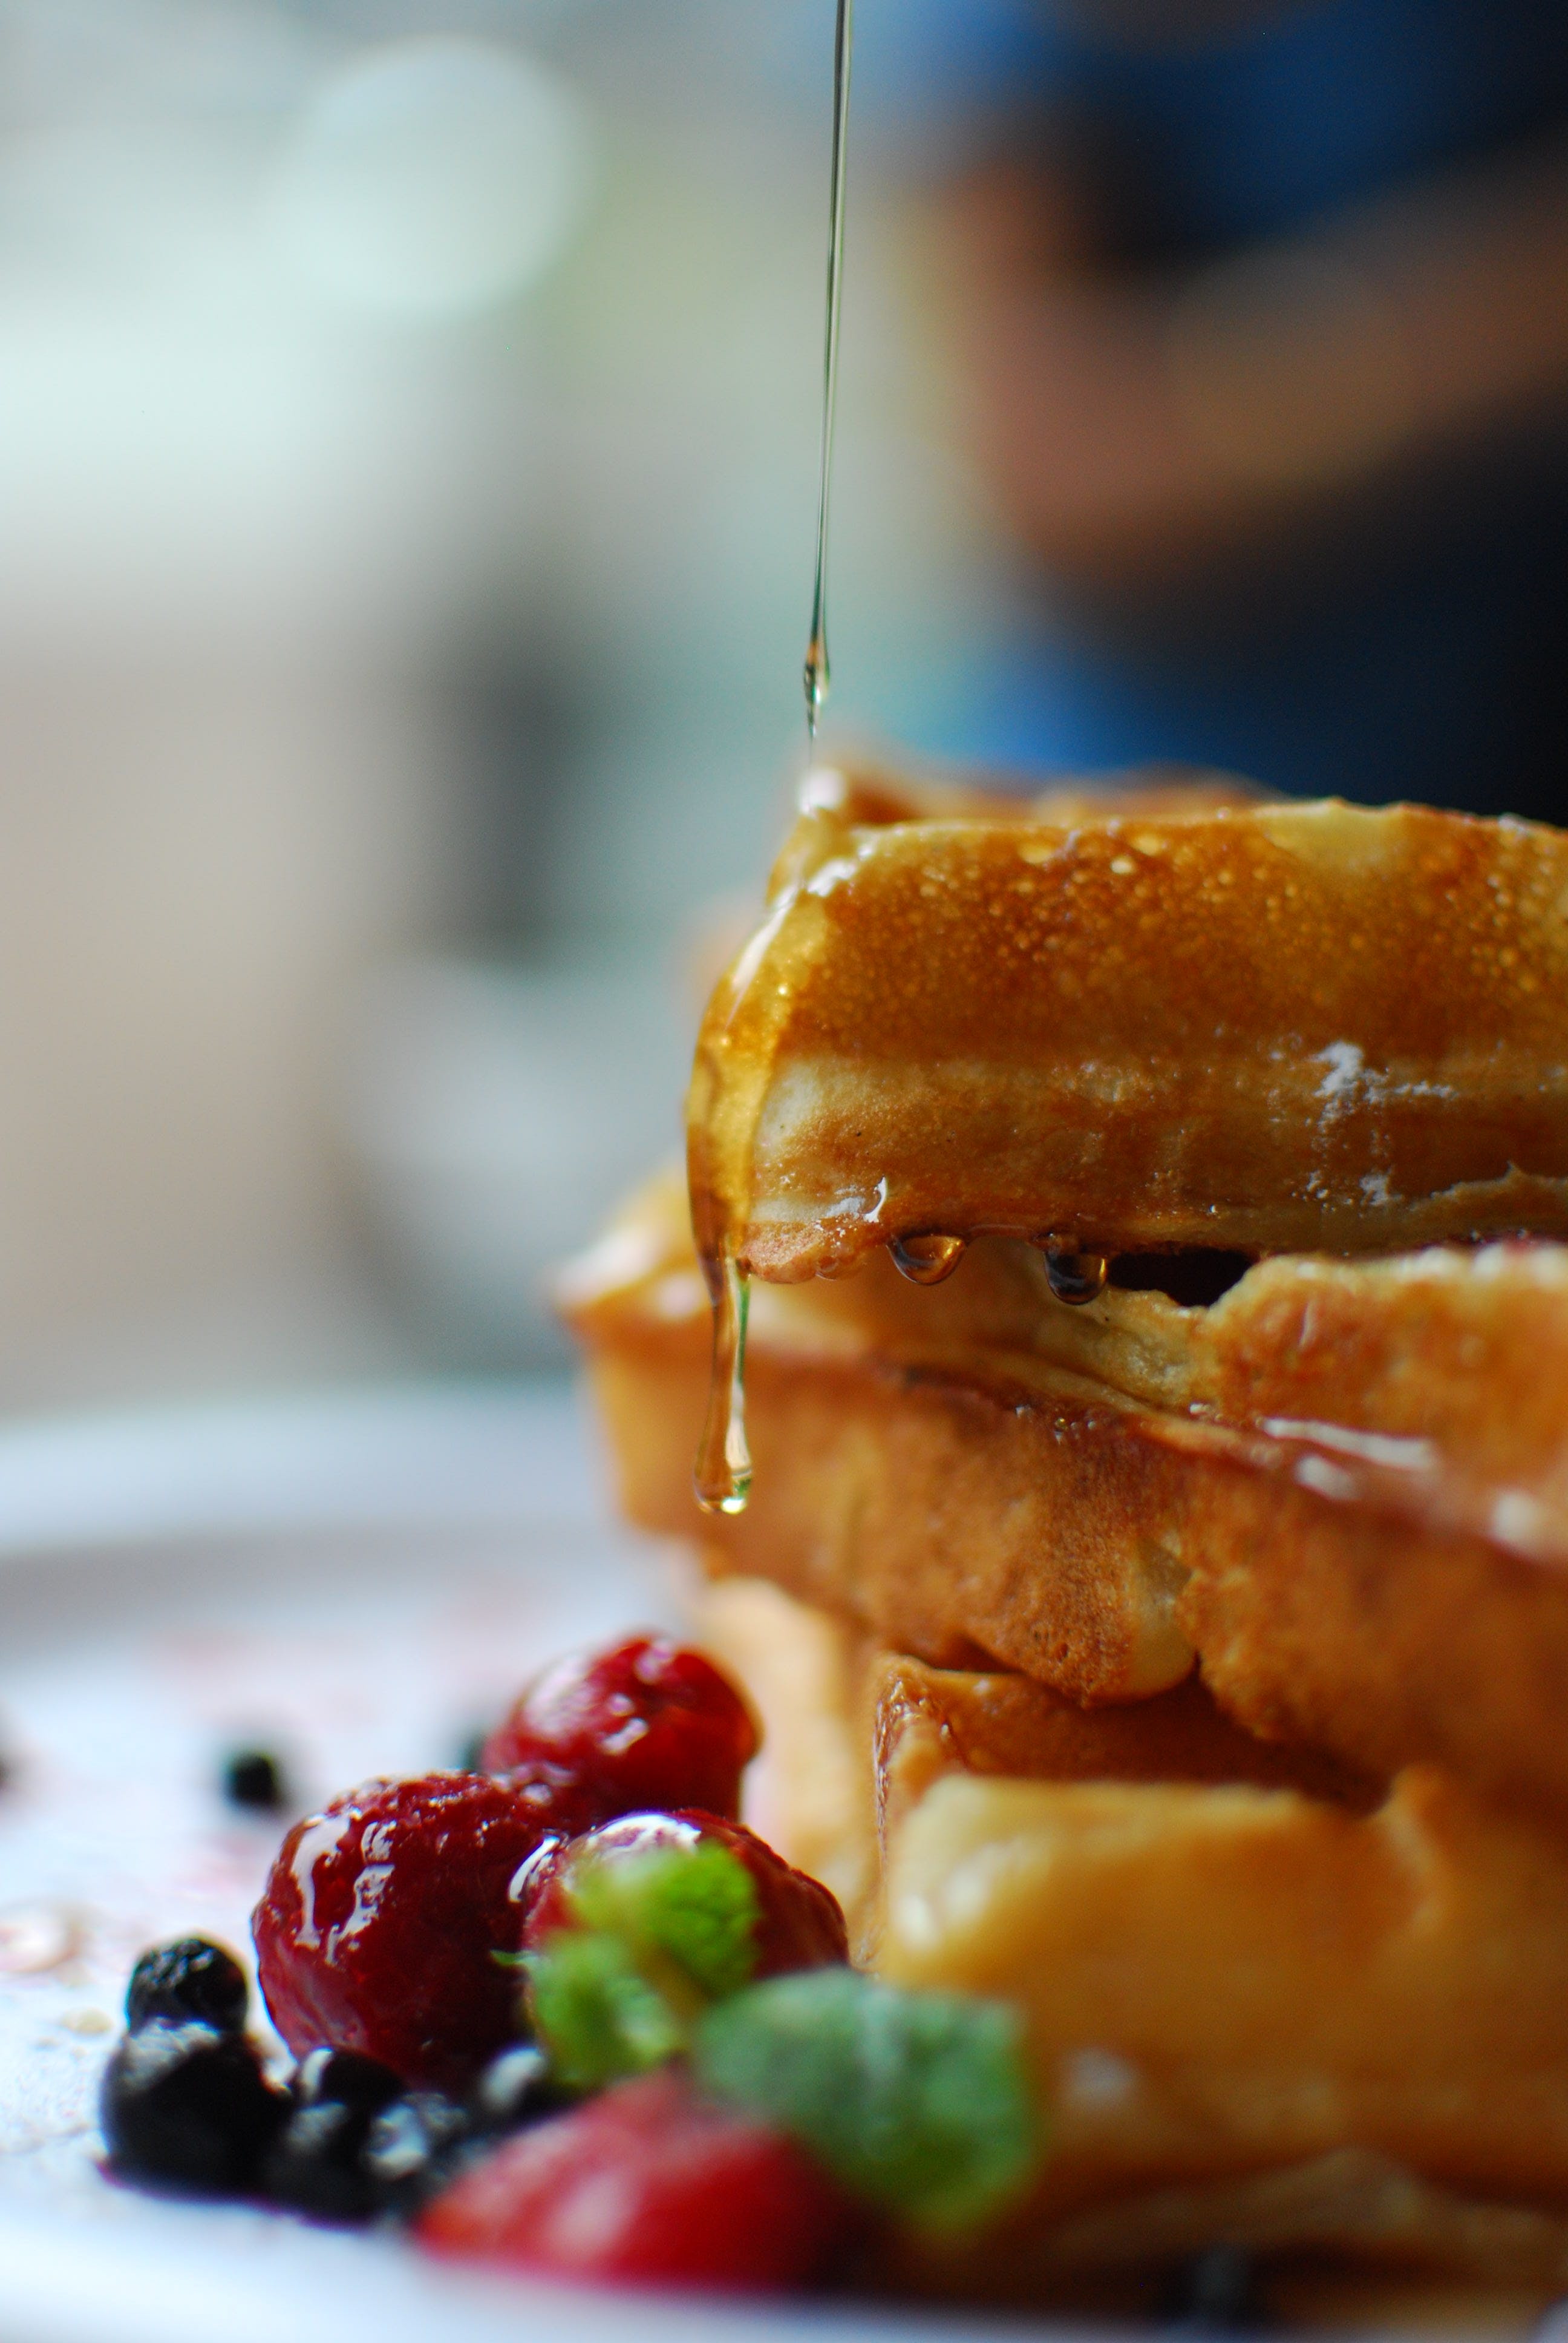
Layering and height are pivotal in food arrangement, adding dimension and interest. A stack of cookies or a layered cake offers a sense of abundance and indulgence, while a carefully placed sprig of mint can add a pop of color and height to a flat dish like soup. This vertical interest can turn a dish from a mere item on a table to a monument of culinary artistry.
The balance between the dish, props, and negative space is a delicate dance. Props such as utensils, ingredients, and linens should complement the dish and not overwhelm it. They are the supporting cast that should enhance, not upstage, the star of the show. Negative space, the empty area around the subject, provides breathing room and can help emphasize the main subject, allowing the food to shine without competition.
Styling for different types of food requires an understanding of their unique features. Soups should showcase their texture and garnishes; salads benefit from a display of their fresh ingredients and dressing; desserts, with their inherent indulgence, often call for a closer, more intimate framing to highlight their intricate details. Each dish presents an opportunity to tell a different story, with composition and styling as the narrative tools that bring the story to life.
The Photography Process
The photography process in food photography is a careful orchestration of technical expertise and creative vision. Setting up the shot begins with determining the angle, distance, and perspective. Overhead shots celebrate the dish's layout and are ideal for flat lays, while a lower angle can accentuate the height and layers, giving the food a majestic presence. The distance from the subject depends on the desired detail level and the lens in use; a closer shot requires careful focus, while a wider shot invites context into the frame.
Camera settings are the fine-tuners of the image. A lower ISO maintains image quality by reducing grain. Aperture is pivotal for controlling depth of field; a wider aperture (lower f-number) blurs the background, focusing attention on the food, while a smaller aperture (higher f-number) brings more of the scene into focus. Shutter speed should be fast enough to eliminate hand-shake or motion blur, unless intentionally capturing movement like pouring sauce or a splash of wine.
Shooting tethered, where the camera is connected to a computer or tablet, allows for immediate feedback. It's a valuable tool for food photography, enabling real-time adjustments to composition, focus, and exposure. This instant visual reference can streamline the creative process, leading to a more efficient and successful shoot, ensuring the captured images are as sumptuous as the dishes they represent.
Post-Production
In the realm of food photography, post-production is where the raw image is refined into a mouth-watering masterpiece. The process begins with the basics of editing, which often involves adjusting the exposure and contrast to ensure the food looks vibrant and inviting. Highlights can be toned down if too bright, and shadows can be lifted to reveal hidden details. Cropping is also a crucial step, helping to eliminate distractions and enhance the composition.
Common editing software includes Adobe Lightroom and Photoshop, which offer a comprehensive suite of tools for meticulous adjustments. Lightroom provides a user-friendly interface for global adjustments, color grading, and batch editing, while Photoshop is ideal for more complex retouching tasks such as removing unwanted crumbs or imperfections on the food.
Enhancing colors is paramount to reflect the food's true palette. Saturation and vibrance controls can make colors pop, but it's essential to keep them realistic to maintain the food's natural appeal. Correcting lighting involves balancing the white balance to ensure the food's colors are as accurate as possible, replicating how they would appear under neutral lighting conditions. Retouching is the final touch, where minor blemishes are corrected, ensuring that every element on the plate is as appetizing as possible. This stage is about finesse, making sure that the food not only looks good but also accurately represents its flavors and textures.
The Challenges and Solutions in Food Photography
Food photography is a race against time, especially when dealing with perishable and melting items. To combat this, photographers often work with substitutes — using mashed potatoes for ice cream or motor oil for syrup, for instance. These stand-ins endure the heat of lighting and maintain their appetizing appearance longer than the real thing. When the authenticity of the dish is paramount, one must work swiftly, have all equipment prepped, and shoot quickly after plating to capture the dish at its freshest.
Unappetizing color casts can be a pitfall, often caused by mixed lighting conditions. A solution is to shoot in RAW format, allowing for greater flexibility in correcting colors during post-processing. Custom white balance settings can neutralize color casts, ensuring the food's colors are true to life.
During the shoot, quick fixes are often necessary. A spritz of water can rejuvenate a wilting salad, and a heat gun can restore the melted sheen to cheese. Tweezers and brushes may come in handy to adjust fine details and remove unwanted crumbs or smudges. Keeping a kit of these tools close by allows the photographer to swiftly address any issue, ensuring the food remains the alluring subject it's meant to be.
Conclusion
The journey of food photography, from the meticulous preparation of 'soup' to the polished presentation of 'nuts', is a rewarding quest for the perfect shot. Each stage, from selecting the freshest ingredients to mastering the subtleties of lighting and post-production, is a step towards capturing an image that makes viewers taste with their eyes. The triumph of freezing a moment of culinary perfection brings immense satisfaction, a testament to both skill and creativity. As with any art, the key is to keep experimenting, learning, and savoring the process, for there's always a new technique or perspective to stir the pot of visual and edible storytelling.